Apigee Edge OAuth2 and Third-Party Identity Providers

This blog post summarizes the details of how to deploy and configure the the Apigee Edge OAuth2 example that I put together. This example will use the OAuth2 Authorization Code Grant and Refresh Token Grant to demonstrate how OAuth2 can be used with Apigee Edge in a real-world application.
The sample API Proxy also supports the OAuth2 Client Credentials Grant.
This post is a summary of the instructions provided across several different GitHub repos.
These instructions use the OAuth2 + OIDC Debugger.
Configure Red Hat SSO (as Third-Party Identity Provider)
- Configure Red Hat SSO v7.1 as described here for the OIDC Authorization Code Flow (which is also compatible with the OAuth2 Authorization Code Grant).
Make note of the following information:
Authorization Endpoint
Token Endpoint
UserInfo Endpoint
Test user name
Test user password
Setup the OAuth2 + OIDC Debugger
- Follow the instructions here to setup the OAuth2 + OIDC Debugger app on your local machine. This is a simple test application that simulates the interaction between a real app and an IdP using the OAuth2 or OIDC protocols.
Configure Apigee OAuth2 Provider API Proxy
- Clone the OAuth2 Wrapper API Proxy GitHub repository to a local file system by running:
git clone https://github.com/rcbjLevvel/apigee-api-proxy-oauth2-rh-sso-wrapper.git- Install the npm (Node Package Manager) tool on your system using the appropriate packaging system.
- Install the apigeetool by running “npm -g install apigeetool”.
- Deploy the API Proxy by running:
apigeetool deployproxy -u admin_user_for_org -p admin_password -o apigee_org -e env_name -n blog-rh-sso-integration -d ${REPOSITORY_HOME}/proxywhere
admin_user = an admin user for your apigee organization
admin_password = the admin user’s password
apigee_org = your apigee org
env_name = the name of the environment where the API Proxy is to be deployed
REPOSITORY_HOME = path to the root directory of the git repo.
- Alternatively, if you are having trouble with apigeetool, you can also deploy the built API Proxy bundle (available here) through the web console.
- Open your favorite web browser (Chrome & Safari are known to work).
- Log into the Apigee Edge Public Cloud console here (https://enterprise.apigee.com).
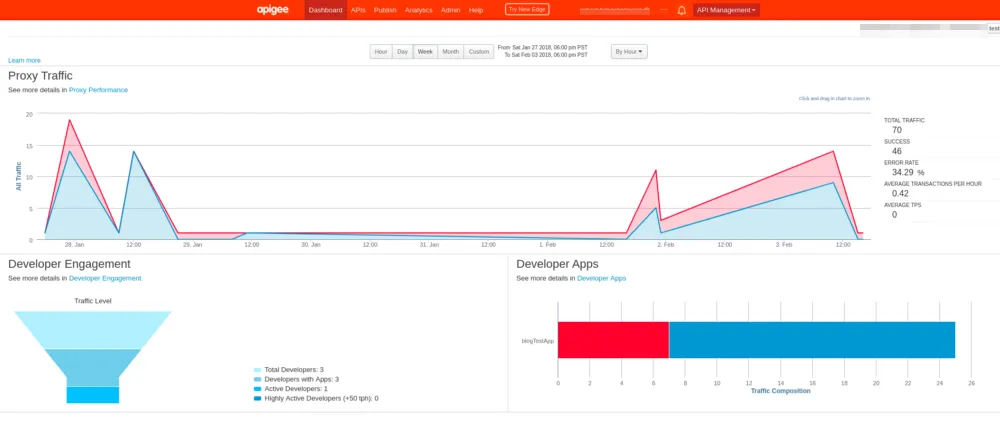
- Go to Publish->Products.
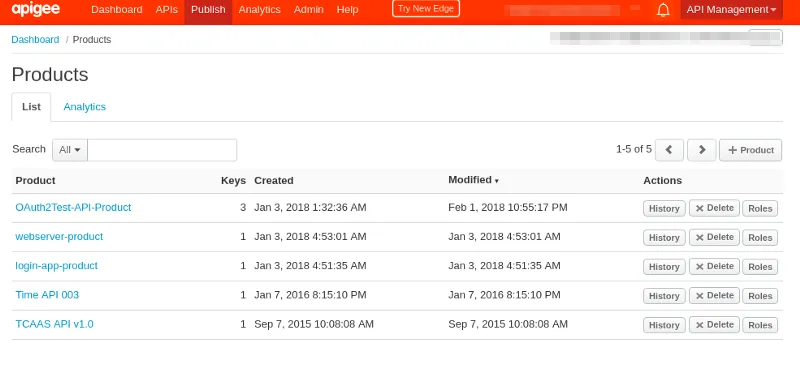
- Click the “+Product” button in the upper left-hand corner.
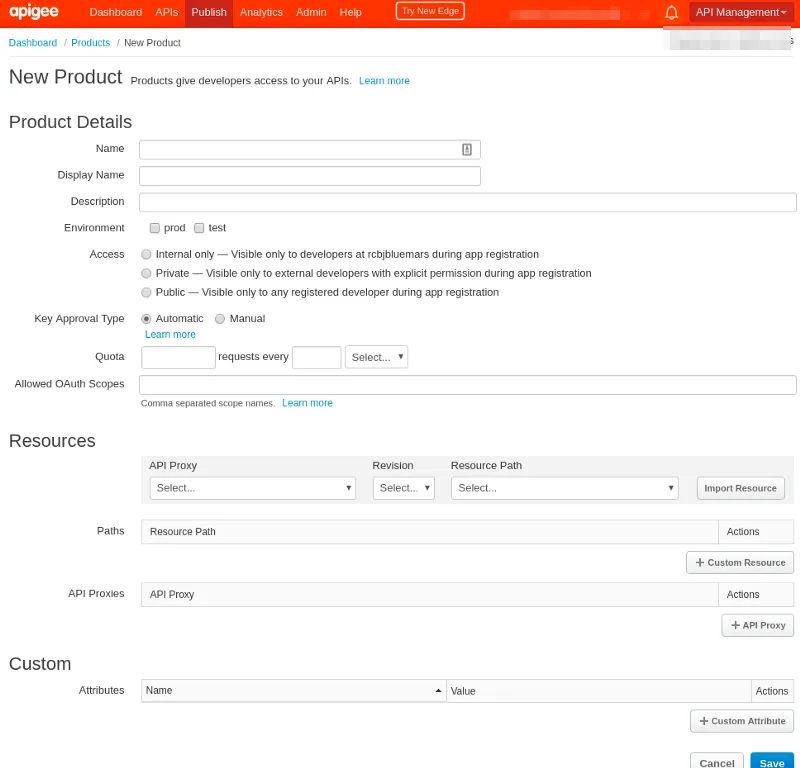
- Give the new Product a name of “OAuth2Test-API-Product”.
- Fill in the additional fields:
Display Name: Provide a meaningful display name.
Description: Provide a meaningful description.
Environment: Test
Key Approval Type: Automatic
Access: Public
Quota: Can be left blank
Allowed OAuth scopes: User
Paths: /
API Proxies: blog-rh-sso-integration
- Click Save.
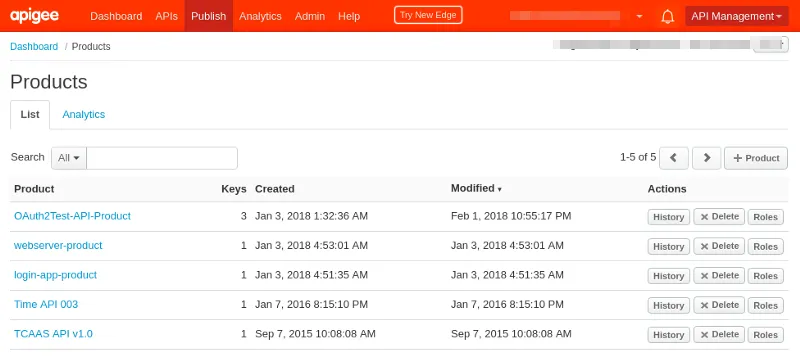
- Go to Publisher->Developer Apps.
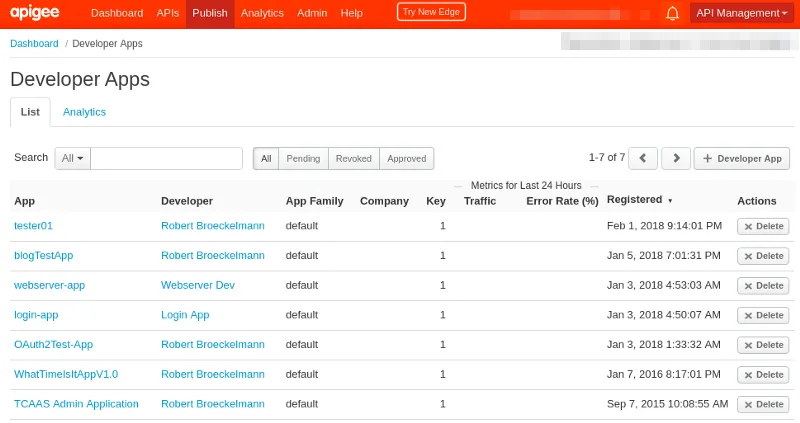
- Click the “+Developer App” button.
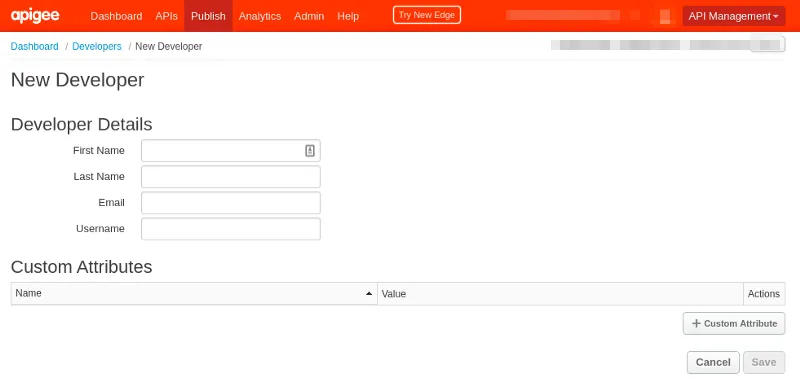
- Fill in the following parameters:
Name: blogTestApp
Display Name: A meaningful display name.
Developer Name: Yourself
Callback URL: http://localhost:3000/callback (so this can be used with the OAuth2 + OIDC Debugger
Expiration: Never
Products: The product created above (OAuth2Test-API-Product).
- Click the Save button.
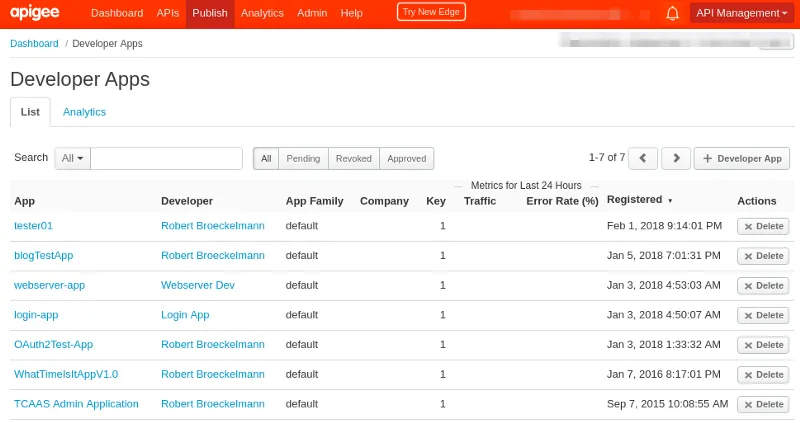
- Click on “blogTestApp” in the list of Developer Apps.
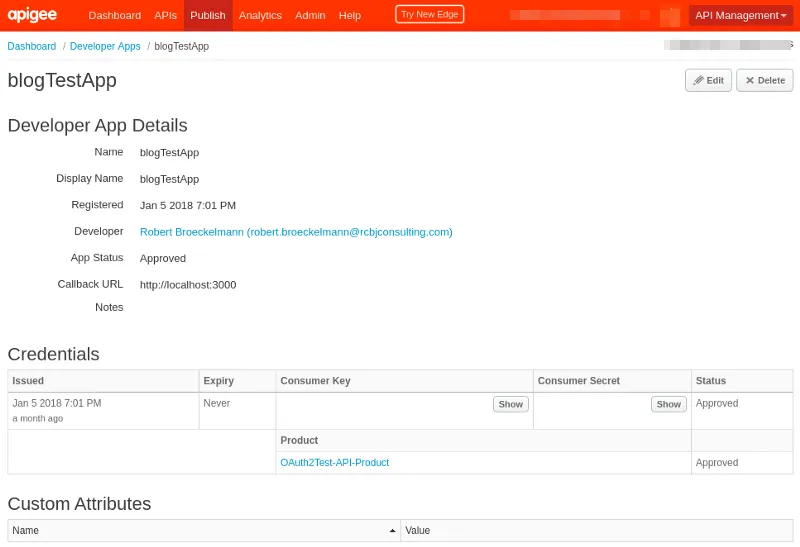
- Under Credentials, click on the Consumer Key button.

- Save this value for later reference (this is the OAuth2 client identifier).
- Under Credentials, click on the Consumer Secret button.

- Save this value for later reference (this is the OAuth2 client secret).
- If you are using Red Hat SSO v7.1 as the third-party Identity Provider, copy the following script to your local file system to create a mirror OAuth2 client definition in Red Hat SSO:
#!/bin/bash#Update these variables with the values obtained earlier.CLIENT_ID=CLIENT_SECRET=REDIRECT_URI=KEY=REALM=RH_SSO_HOST=curl -v -X POST \-d ‘{ “clientId”: “${CLIENT_ID}”, “secret”: “${CLIENT_SECRET}”,”redirectUris”:[“${REDIRECT_URI}"] }’ \-H “Content-Type:application/json” \-H “Accept: application/json” \-H “Authorization: Bearer KEY” \https://${RH_SSO_HOST}:8443/auth/realms/${REALM}/clients-registrations/default --insecure -D headers.out- Update the following values in the shell script:
CLIENT_ID=the Apigee test application client_id that was just created.
CLIENT_SECRET=the Apigee test application client_secret that was just created.
REDIRECT_URI=the 3Scale test application redirect_uri that was just created.
KEY=INITIAL_ACCESS_TOKEN just created in Red Hat SSO
REALM=RH_SSO_REALM_NAME
RH_SSO_HOST=resolvable Red Hat SSO URL hostname
- Run the shell script to create the client definition in Red Hat SSO.
- Back in the web browser with the Apigee Web Console open, go to APIs->Environment Configuration.
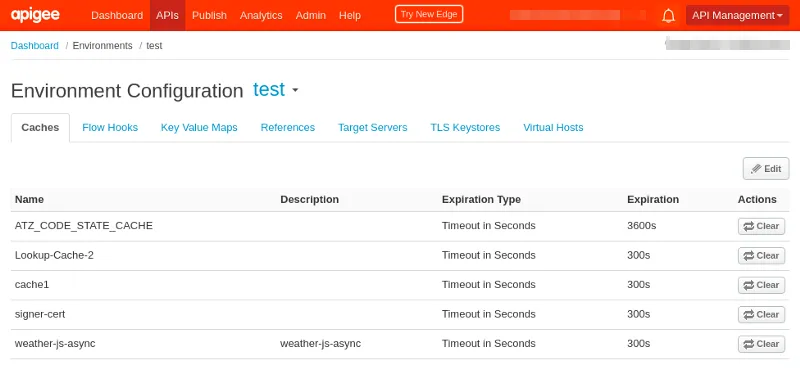
- Go to the Caches tab (should be the default).
- Click the Edit button.
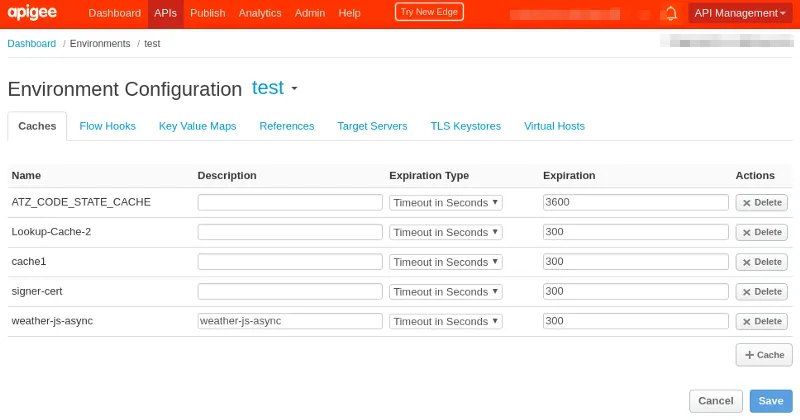
- Click the “+Cache” button.

- Enter a name for the new Cache: ATZ_CODE_STATE_CACHE
- Enter a description, if needed.
- Set the timeout to 3600 seconds. For real world purposes, the cache expiration should be a few seconds less than the access token timeout configured in Red Hat SSO for the test client.
- Click the Save button.
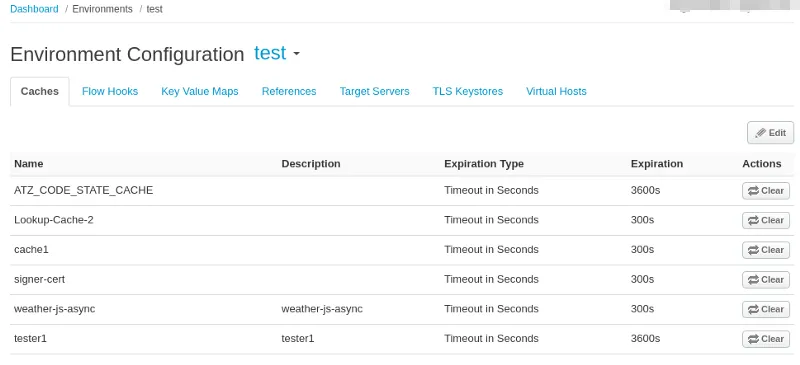
- Go to the Key Value Maps tab.
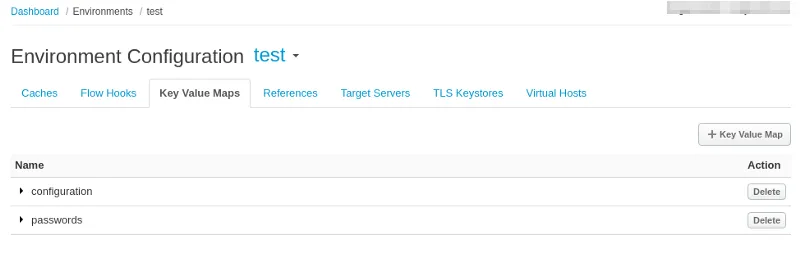
- Click the “+ Key Value Map” button.
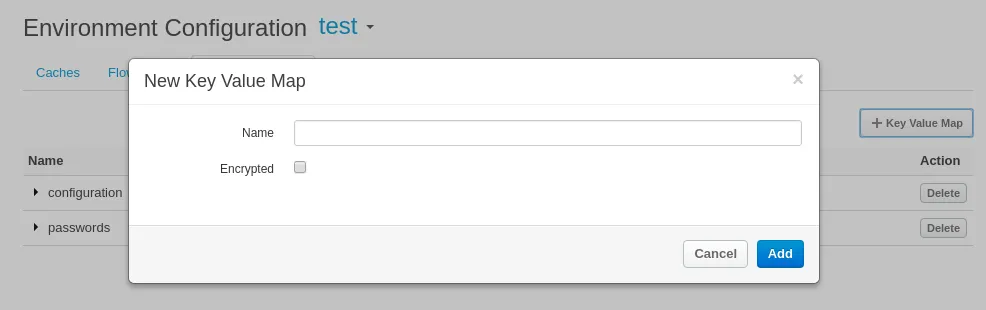
- Give the new KVM a name: configuration
- Click Add.
- Wait for the screen to refresh.

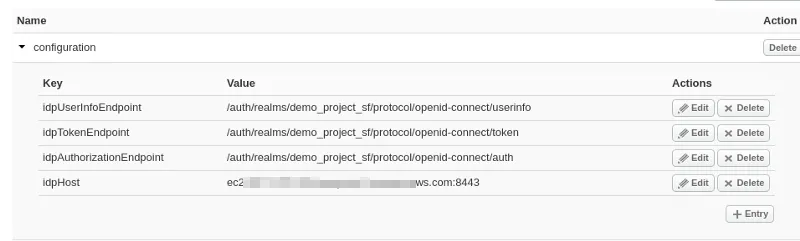
- Add the following values to the configuration KVM by expanding the KVM, clicking the “+ Entry” button, adding the key:value pairs, and clicking save.
idpUserInfoEndpoint: The OIDC UserInfo Endpoint (example: /auth/realms/demo_project_sf/protocol/openid-connect/userinfo)
idpTokenEndpoint: The OIDC Token Endpoint (example: /auth/realms/demo_project_sf/protocol/openid-connect/token)
idpAuthorizationEndpoint: The OIDC Authorization Endpoint (example: /auth/realms/demo_project_sf/protocol/openid-connect/auth)
idpHost: (example: ec2-blah.compute-1.amazonaws.com:8443)
- The final result should look similar to the following (note, the Apigee Service Callout Policy requires that the host:port and path be defined in separate variables):
Deploy OAuth2 Validating API Proxy
- Clone the OAuth2-Validating API Proxy GitHub repository to a local file system.
- Install npm (Node Package Manager) on your system using whatever package manager is appropriate.
- Install the apigeetool by running “npm -g install apigeetool”.
- Deploy the API Proxy by running (you can also deploy the API Proxy bundle through the console):
apigeetool deployproxy -u admin_user_for_org -p admin_password -o apigee_org -e env_name -n blog-rh-sso-integration -d ${REPOSITORY_HOME}/proxySetup the OAuth2 + OIDC Debugger
- Clone the OAuth2 + OIDC Debugger GitHub repository by running:
git clone https://github.com/rcbj/id-proto-debugger.git- Follow the instructions in this repo’s README.md to build and start the docker image.
- The short version is:
Run “cd ${REPO_HOME}/client”.
Run “docker build -t id-proto-debugger .”.
Run “docker run -p 3000:3000 id-proto-debugger”.
Obtain An Access Token
- Open a browser.
- Go to http://localhost:3000.
- Using the following values, use the OAuth2 + OIDC Debugger to obtain an access token:
Authorization Endpoint: https://org-env.apigee.net/oauth2/authorization (org = your org, env = env name)
Token Endpoint: https:/org-env.apigee.net/oauth2/token (org = your org, env = env name)
Client Identifier: Obtained above from the Consumer Key
Client Secret: Obtained above from the Consumer Secret
Callback: http://localhost:3000/callback
Scope: User
Username: configured in the third-party IdP (User1, if following the Red Hat SSO v7.1 post referenced above).
Password: configured in the third-party IdP (secret, if following the Red Hat SSO v7.1 post referenced above).
Validate Token Endpoint SSL: Yes
Display OIDC Artifacts: No
Use Refresh Tokens?: Yes (if needed)
Validate SSL Certificate?: Yes (the Apigee endpoint uses a certificate issued by a public CA, by default)
Make an API Call With The Access Token
- Run the following the command:
curl -X GET https://${ORG}-${ENV}.apigee.net/oauth2test/posts/1 --insecure -H "Authorization: Bearer ${TOKEN}" -D headers.outwhere
ORG=your apigee org name
ENV=environment where the proxy is deployed (test or prod by default)
TOKEN = OAuth2 access token obtained in the last step
- The output should look something like:
{ "userId": 1, "id": 1, "title": "sunt aut facere repellat provident occaecati excepturi optio reprehenderit", "body": "quia et suscipit\nsuscipit recusandae consequuntur expedita et cum\nreprehenderit molestiae ut ut quas totam\nnostrum rerum est autem sunt rem eveniet architecto"}Use a Refresh Token To Obtain a New Access Token
- Use the steps described in this post to obtain a new access token when the original expires.
The important steps are:
- Make sure that you selected Yes next to “Use Refresh Tokens” in the Configuration section at the top.
- You will see something similar to the following.
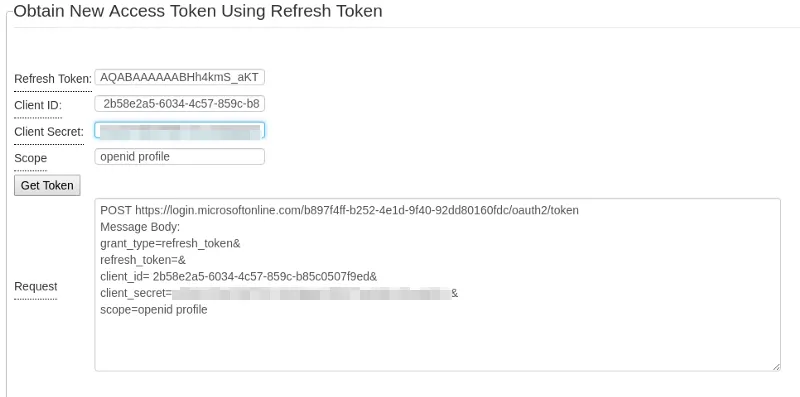
- Enter the following values:
Enter your client’s client identifier in the Client ID field.
Enter your client’s client secret in the client Secret field (if applicable).
Enter “openid profile” in the Scope field.
- Click the “Get Token” button.
- You will see something similar to the following:
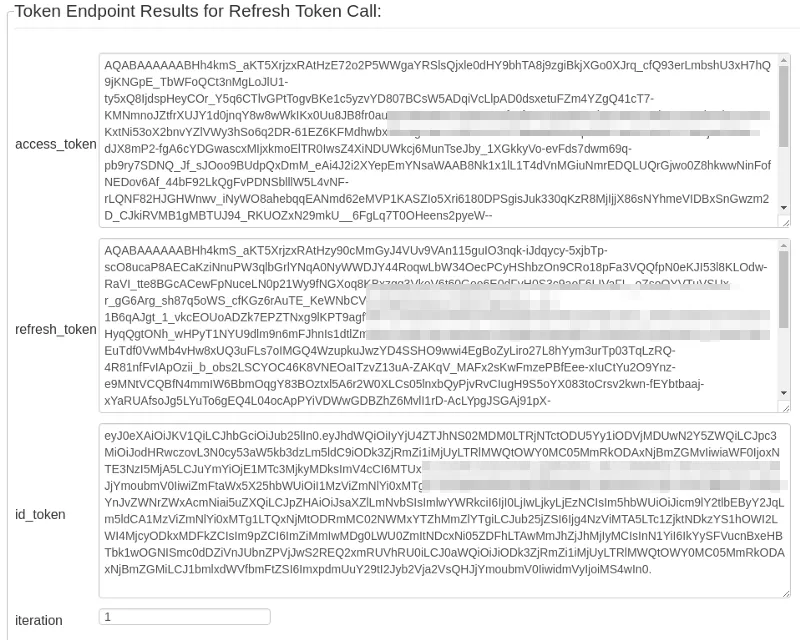
- You can continue to click the “Get Token” button to obtain new access tokens for as long as the Identity Provider will allow it.
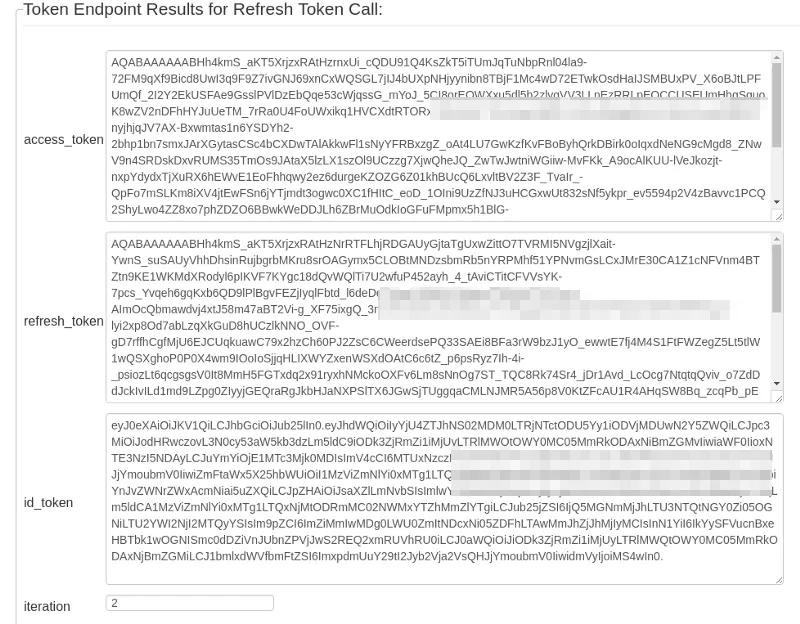
- You can make additional calls to the API endpoint now with the new access token in the HTTP Request Authorization Header as described above in the “Make an API Call with The Access Token” Section.
Just as I’ve described in numerous other other posts on these topics, usually, the best approach is to use an OAuth2 (or OIDC) library that handles all of these details for you. However, when troubleshooting problems or for initial testing, working directly with the protocol through a debugger can be very helpful. Likewise, if troubleshooting the server-side Identity Provider components (or API Gateway in this case), interacting with the system in this way is helpful.
Image: Patterns / fdecomite
Originally published on Medium.